 DIY Screen #2 |
This time the screen frame was constructed of square aluminum tubing. The vinyl was attached with industrial strength Velcro that allows me to adjust the tension as necessary over time, although I have yet to have a need to do this after more than a year of use! Total cost of this screen came out to about $150.
This new screen was installed in my theater in July of 2005. Check out the photos below of the steps involved in this project.
I have since built and installed a new 125" 2.35:1 ratio screen since my latest projector has a powered zoom lens with memory so I can project wide screen movies at the correct aspect ratio. I also found some plastic connectors to use in joining the square aluminum tube pieces together without the need for all those metal braces. The rest of the screen was built the same using the screen material and Velcro as described below. Here is a picture of the latest screen. 
Materials:
54" x 3 yds Dazian (non-perforated) textured white PVC screen material .95 gain (~$29/yd)
1" Square Aluminum (3 - 8' pieces)
3/4" Square Aluminum (2 - 4' pieces)
4 - 4" Flat Corner Braces
4 - 3" Heavy Duty Corner Braces
4 - 3" 'T' Braces
#10 x 1/2" Sheet Metal Screws (round heads)
20' x 2" of Industrial Strength Velcro
Rustoleum Flat Black Spray Paint
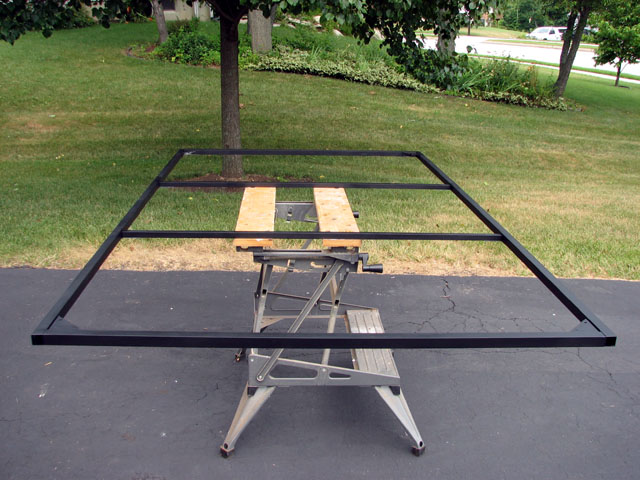
The screen will be the same type as my previous one, that is a floating screen where the frame is behind the screen material. Since the screen wall is black, I simply hang the screen a couple of inches in front of it and it appears to be floating. The screen material will be wrapped around the sides of the frame and anchored in the back with industrial strength Velcro.
The screen frame will consist of 1" square aluminum around the perimeter with two 3/4" square aluminum pieces spaced vertically between the bottom and top rails for added stability and mounting (to accommodate the way my original screen was mounted). The 1" square aluminum is actually fairly rigid and you might be able to get away with no vertical bracing but I like to overbuild things.
The screen will be 50" high and 89" wide for about a 102" diagonal screen. This size fit my space (my old screen was 49" x 87") and reduced the number of cuts in the aluminum I had to make.
 The two different corner braces are installed on the 1" square horizontal members. I used the two braces to ensure the corners stay square and do not come apart. This shot is looking from the back of the frame. |
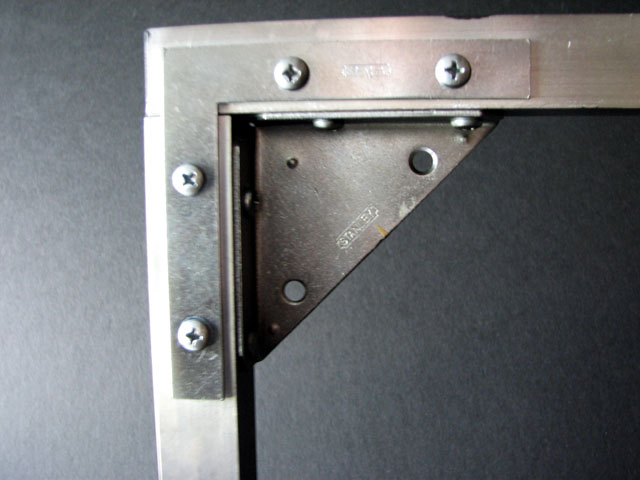 This shows a completed corner again from the back. |
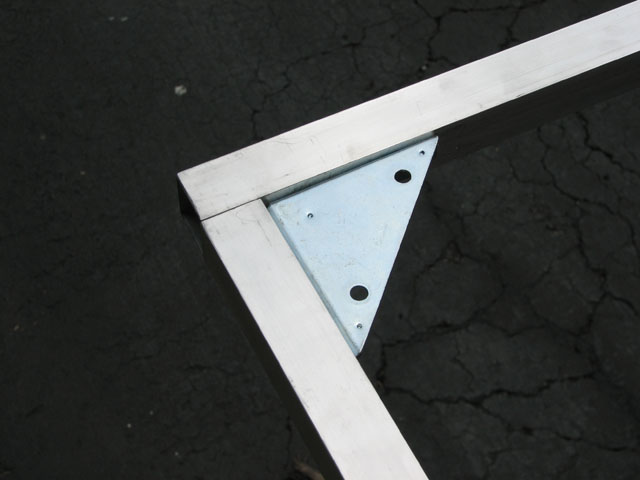 Here is the corner seen from the front side. Note how the inside brace is recessed to avoid it touching any of the screen material once covered. |
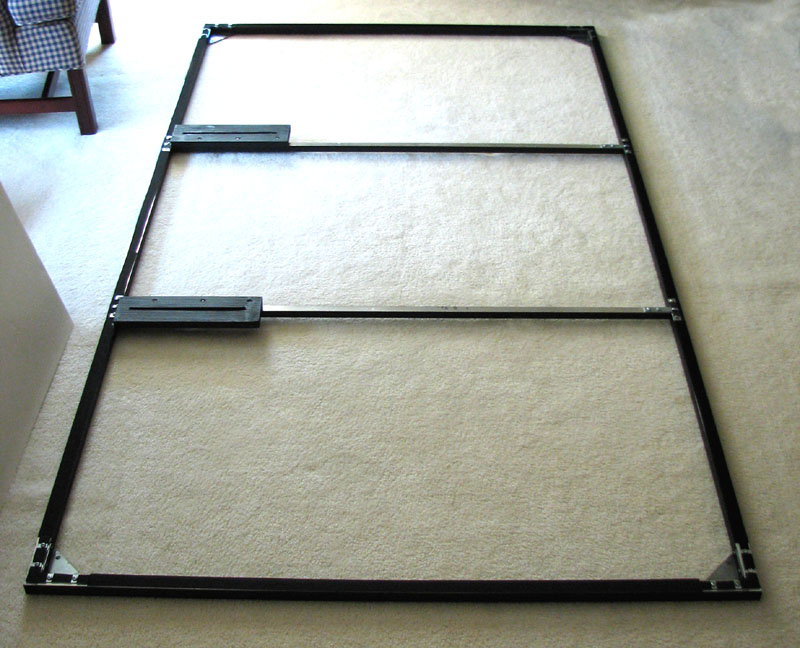
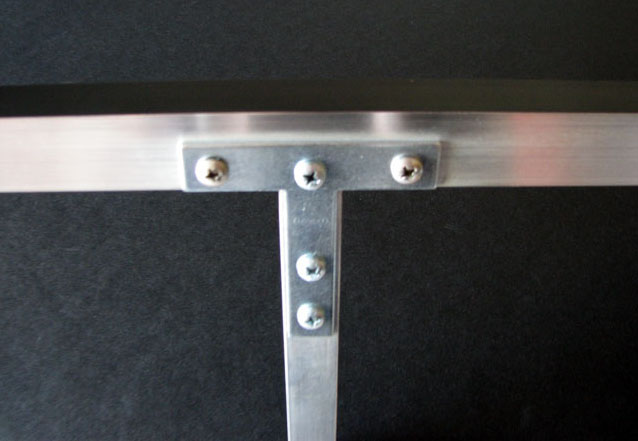 I installed two center braces running vertically from top to bottom. Partly to keep it from bowing and also to work with my previous mounting approach. The braces are 3/4" square aluminum. |
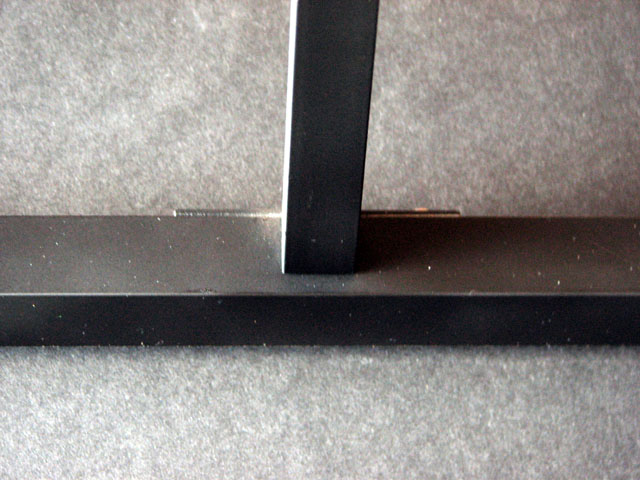 This shot shows how the 3/4" vertical braces are recessed from the front of the frame so the screen material does not touch them. I only want the screen to touch the outside frame to avoid any wrinkles or bulges. |
 The front and side surfaces of the frame have been spray painted flat black to avoid the possibility of any reflections from the aluminum showing through the screen material. I left the back unpainted so I can securely attach the velcro to the aluminum. |
 I made two of these wood blocks for mounting. The long slot allows adjustment vertically. The three holes are for attaching it to the back of the vertical braces. |
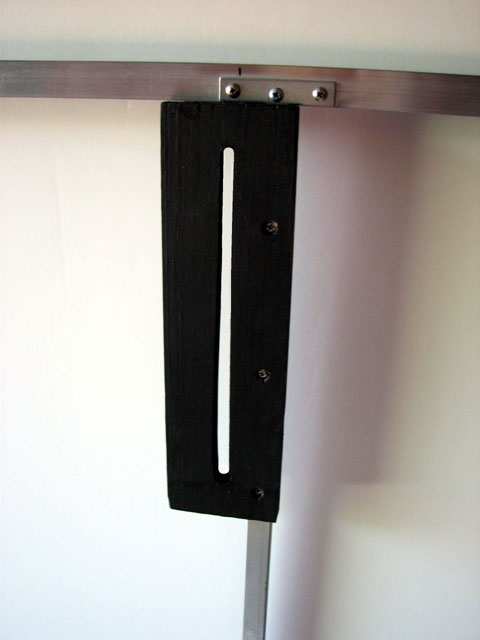 Here is it mounted on the back of the brace. |
 The Velcro has been applied to the back of the frame after first being cut into 1" wide strips. |
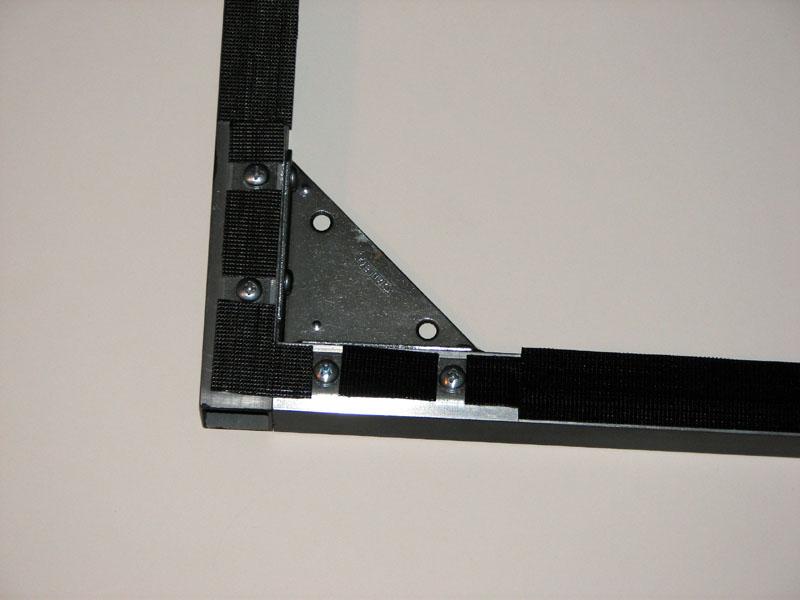 Closeup of the Velcro applied to one corner. | 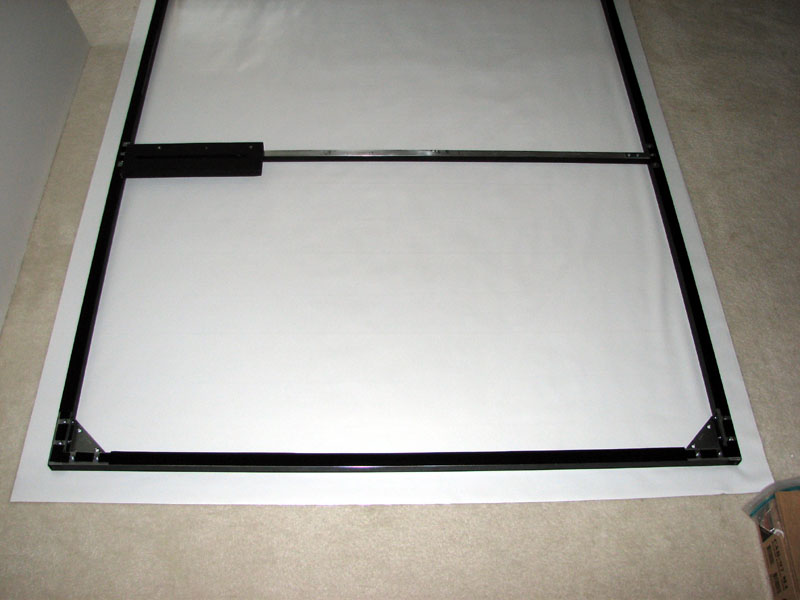 The frame has been laid on the screen material. The matte white side is facing down and the shiny white side is facing up. | 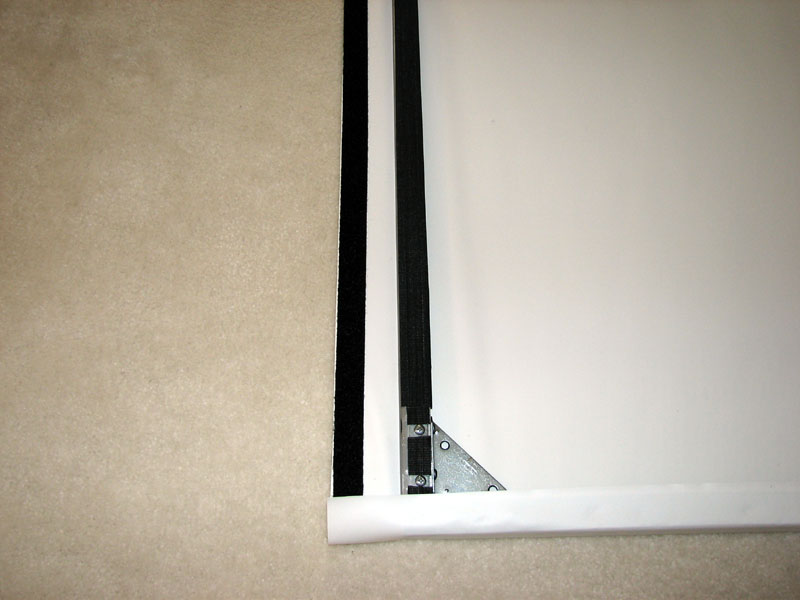 This shot shows the Velcro attached along the side of the screen material before it is folded over to meet the Velcro on the back of the frame. If anyone had any doubts about the industrial strength Velcro staying stuck to the vinyl material, forget it! You'd have to rip the vinyl to get it off! |
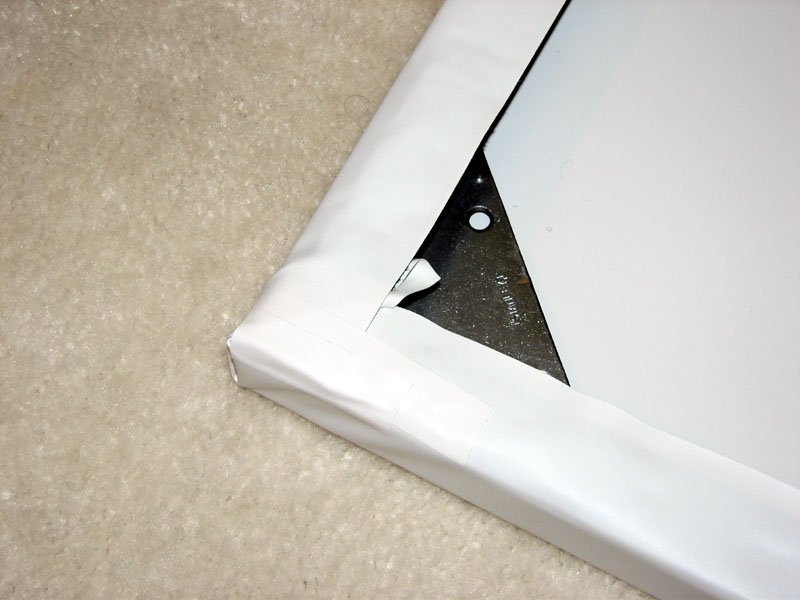 The corners are folded as neatly as possible and then tacked down with white duct tape. | 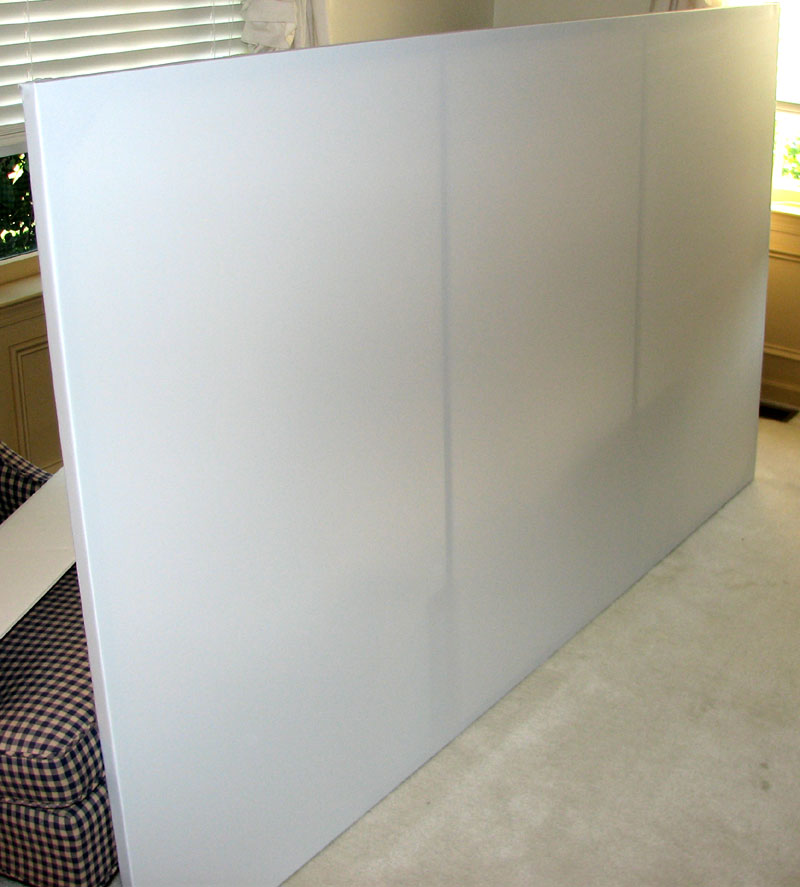 Here is the finished screen. I was glad I painted the frame black as when I stood this up with the window in the background, you can clearly see light through the vinyl. | The finished screen has exceeded my expectations and further improved the picture thrown by my Sony VPL-HS20 projector. |
Please send me an email and let me know what you think.
DIY PROJECTS
DIY SCREEN #1
EQUIPMENT
HOME