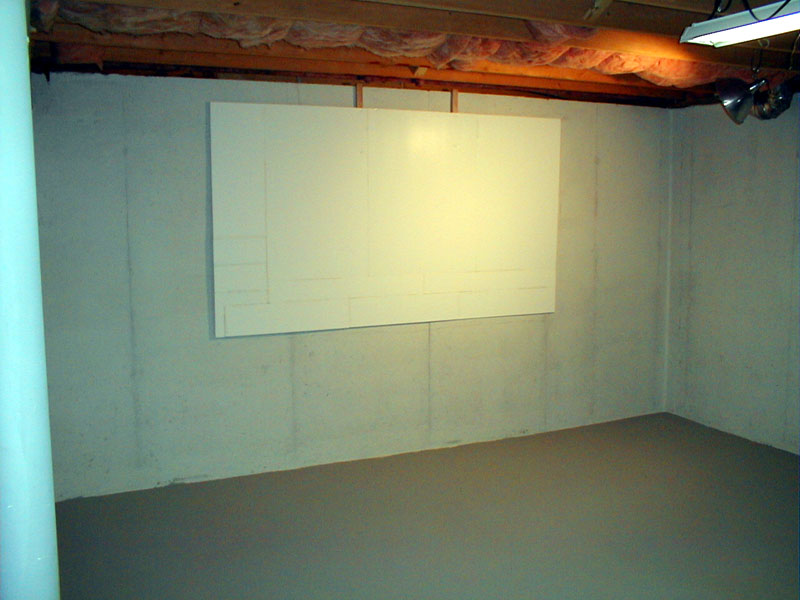
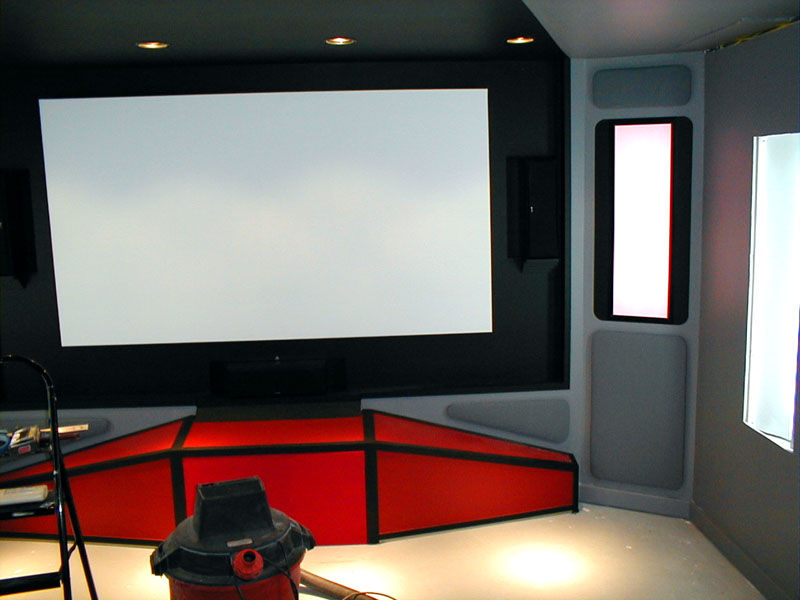
| The corner for the room has been cleaned, sealed and painted. A mockup 106" diagnal screen is mounted on the wall to work out some final sizing details. |
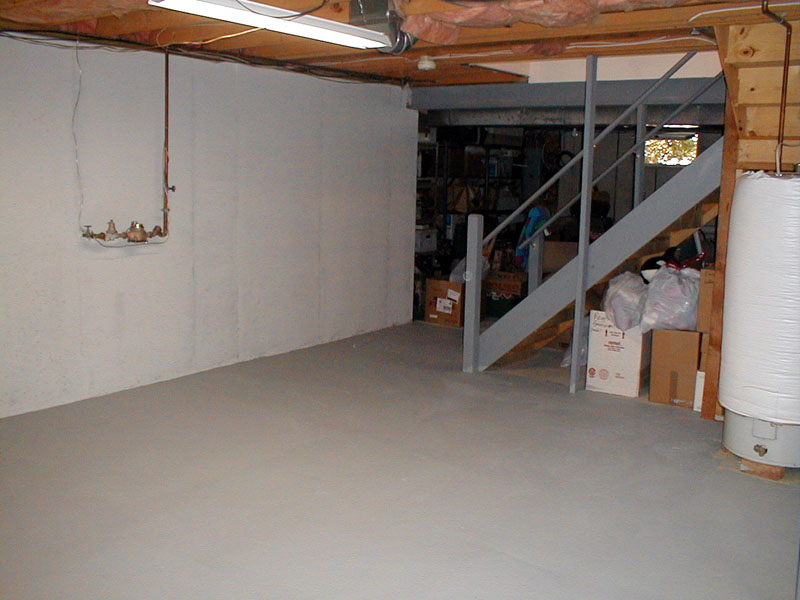
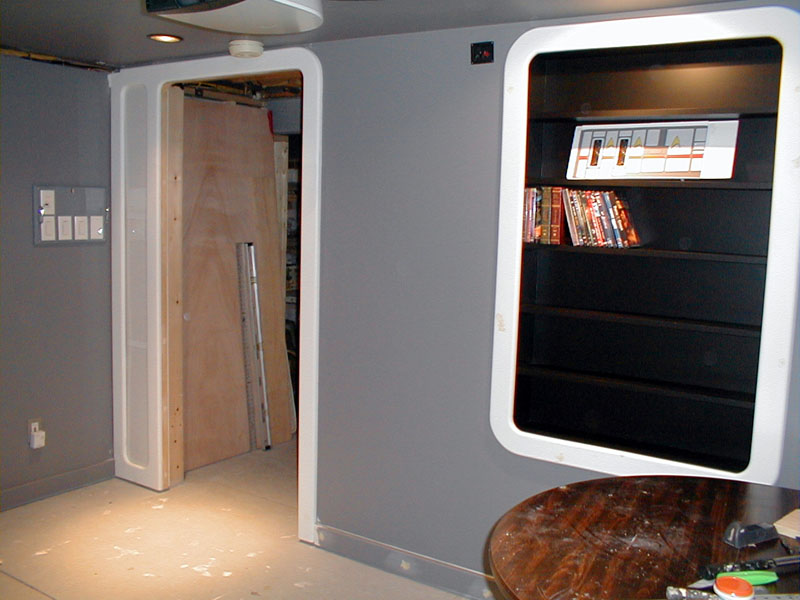
 | Shot looking towards the rear of the theater towards the basement stairs. Note the water heater in this view will be relocated out of the theater room. |
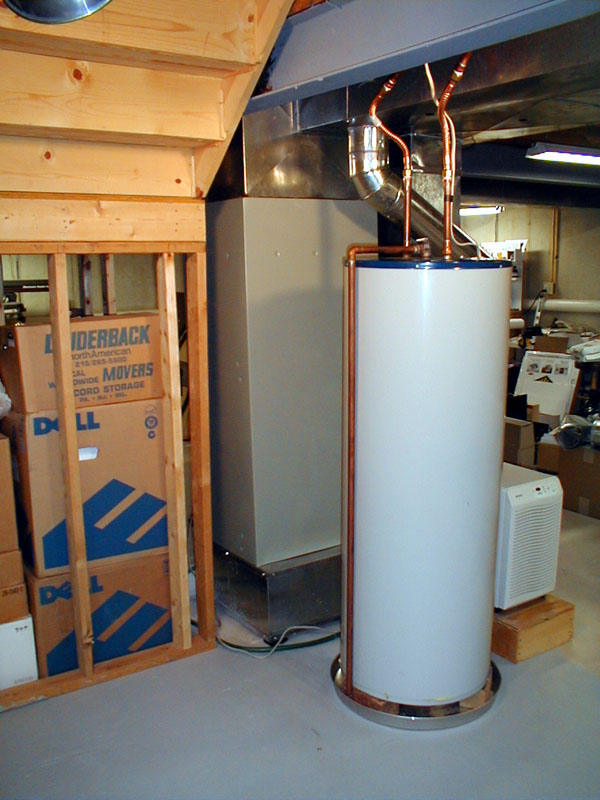
 | The water heater in its new location on the other side of the support beam and out of the theater room. |
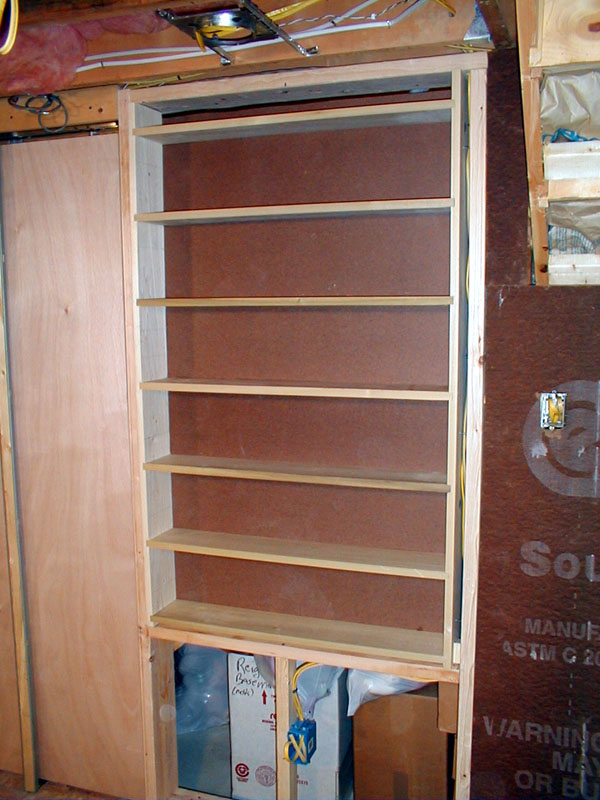
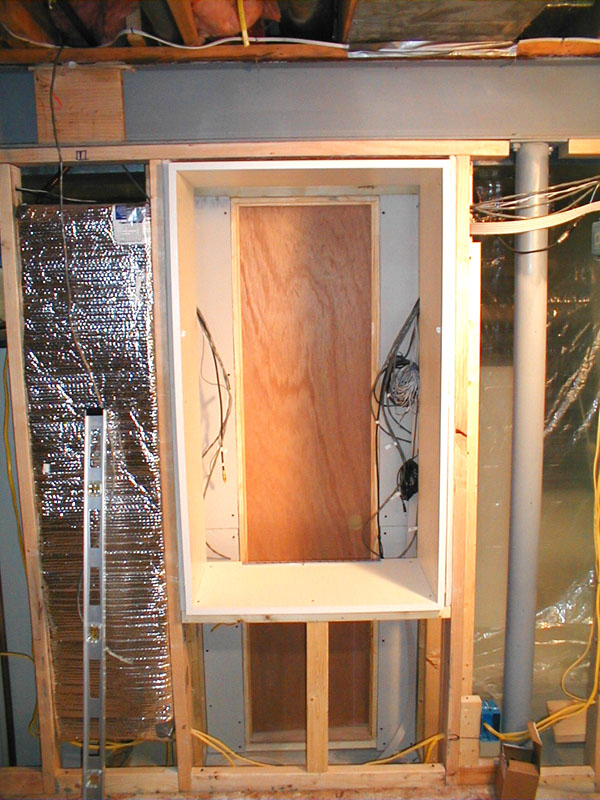
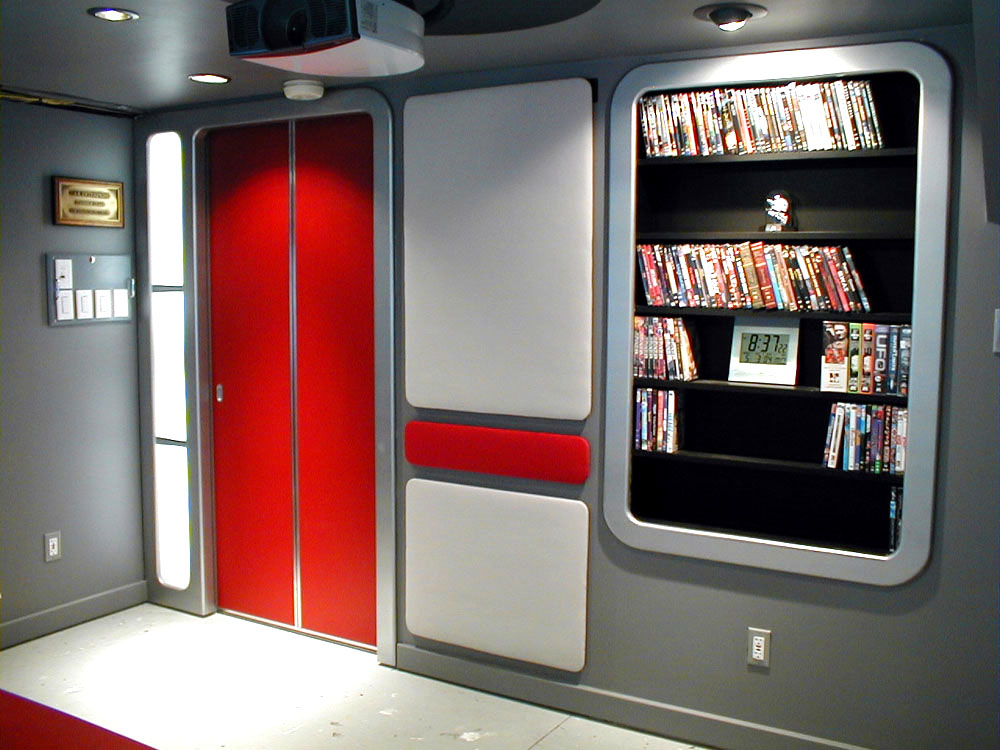
 | The DVD shelf unit has been completed and mounted in the opening in the back wall. |
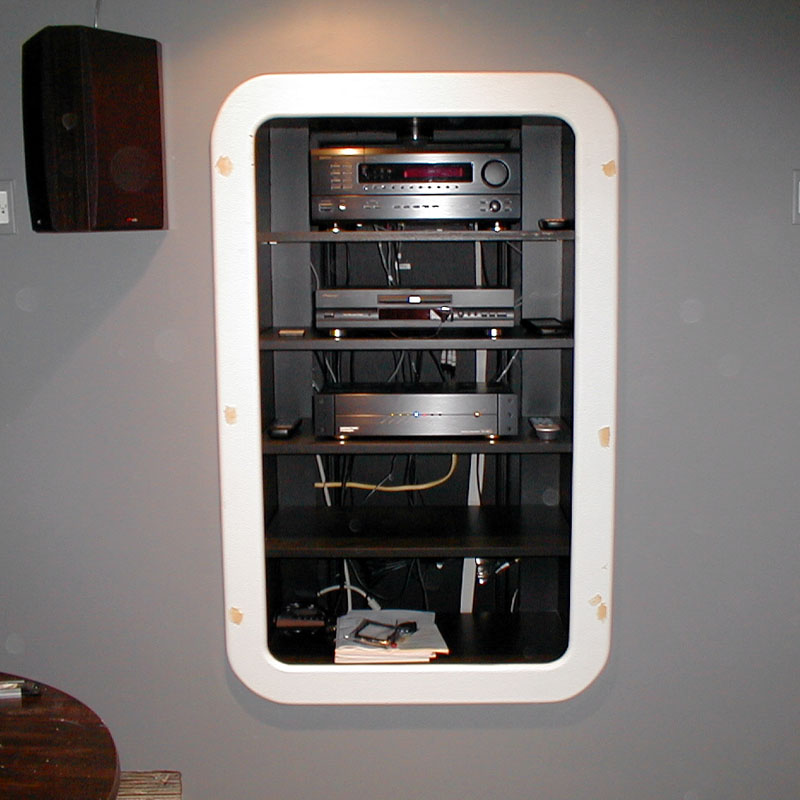
 | Here the DVD shelf trim has been installed. |
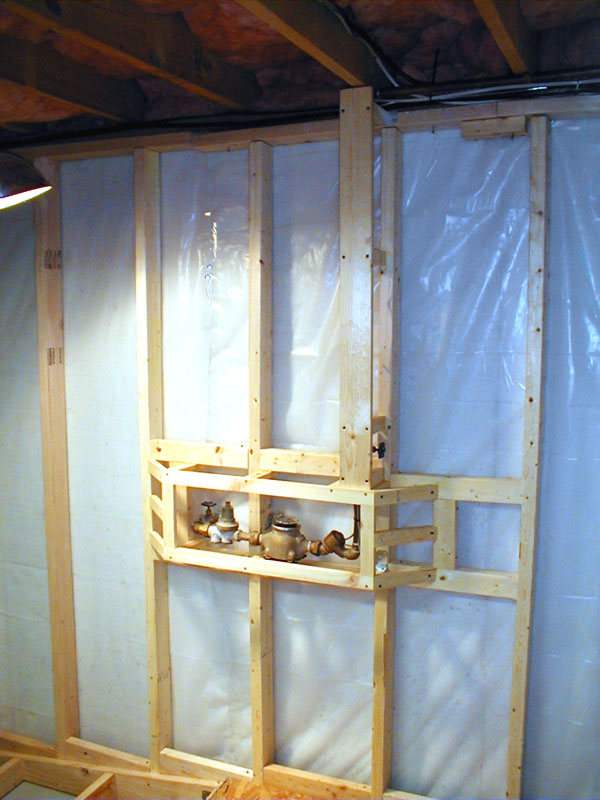
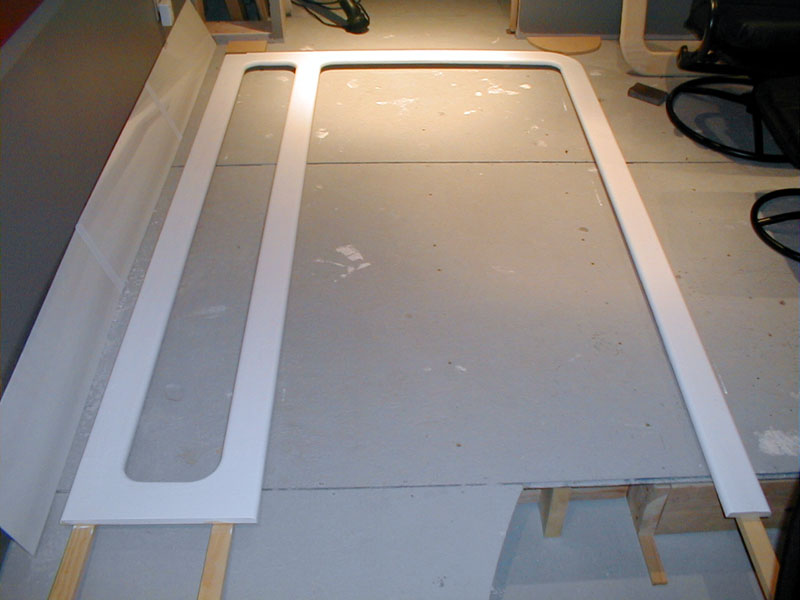
 | I finally took some time to build the box to conceal the water meeting and associated plumbing. There will be a door on the front and by the upper valve for easy access to the equipment. |
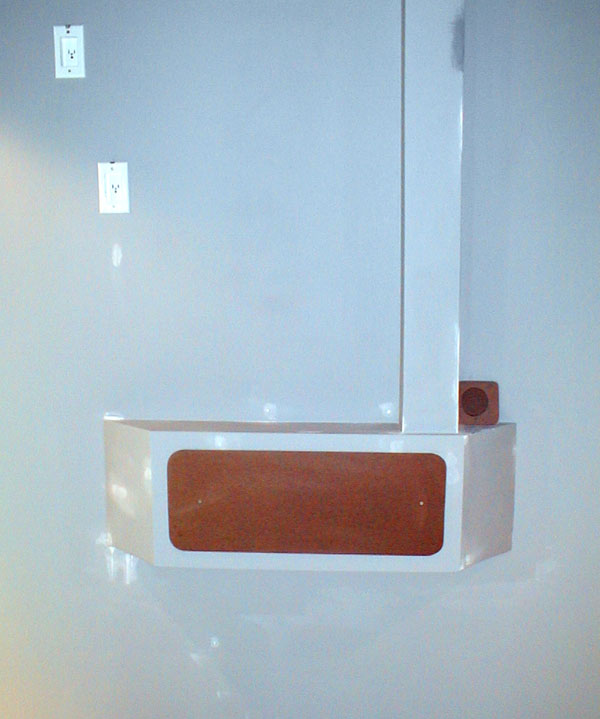
 | The water meter enclosure is now completed. The small piece to the right is the "hatch" for the valve on the right side of the column. |
 | The water meter cover is finished. |
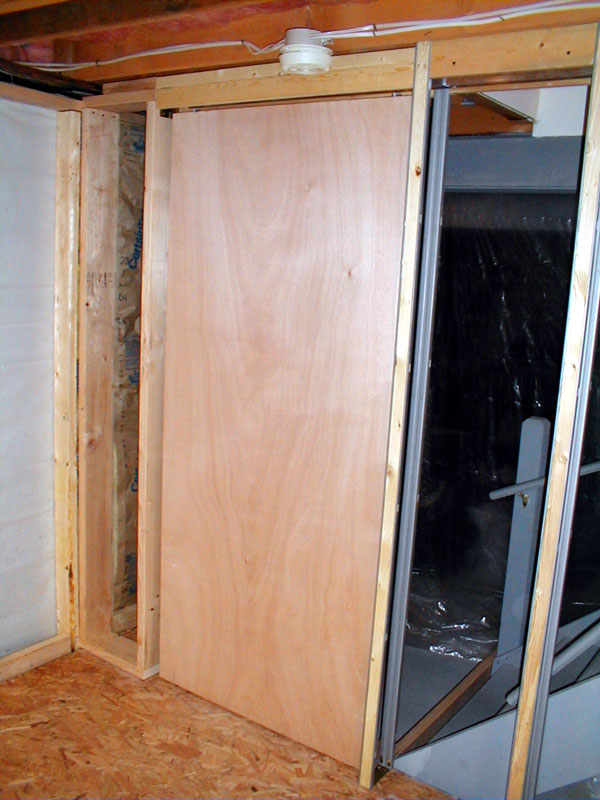
 | The equipment closet was built as a separate room off the one side of the theater. Standard shelves will be used to hold the equipment. |
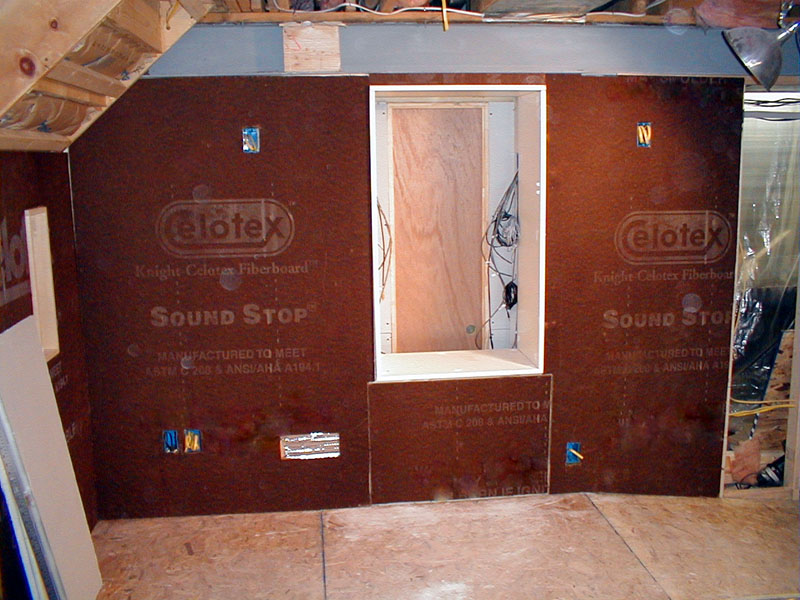
 | Installation of the Sound Stop board has started. This will reduce sound transmission to-from the other side of the basement and also bring the wall flush with the steel beam overhead to ease installation of the drywall. |
 | The moulding is installed around the stereo shelves. It will eventually be painted a brushed silver. |
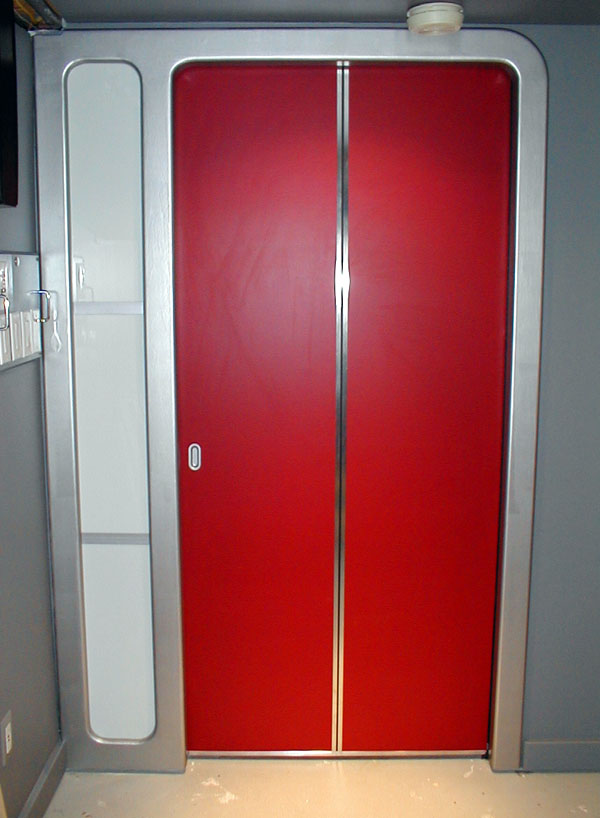
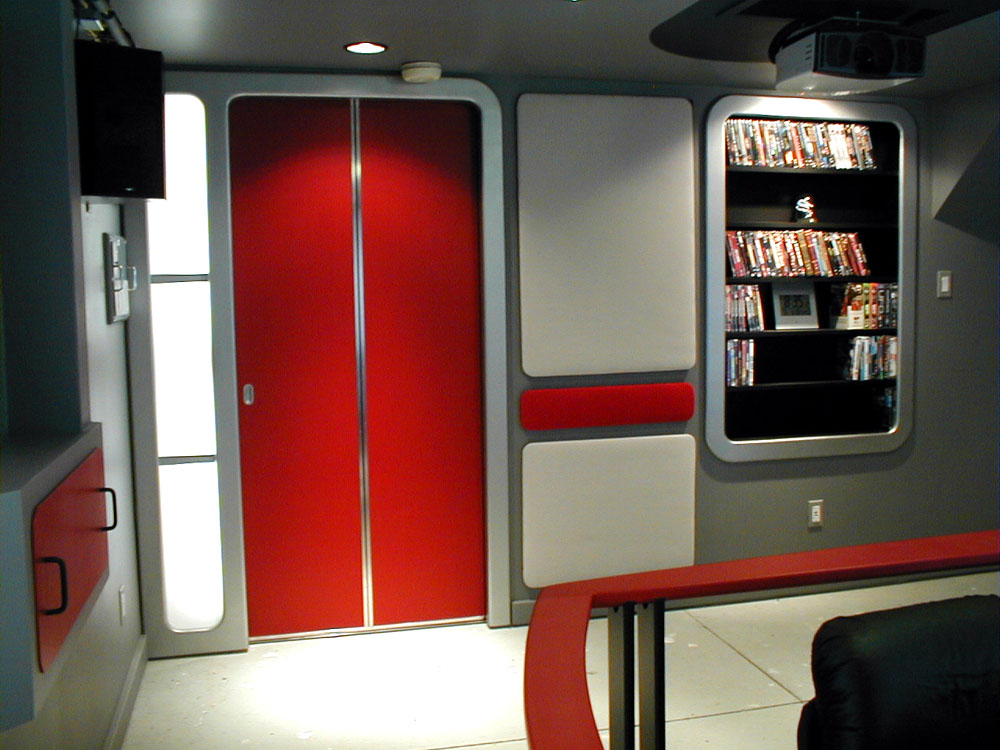
 | The "pocket" door has been installed on the track and is shown here in the closed position. It is a 1 3/4" wide solid exterior laun door. It weighs a ton (well, not really). It should provide a nice solid and soundproof barrier. |
 | Here the door moulding is shown primed and ready for installation. The slot to the left of the door will contain a back lit opaque plexiglas insert. |
 | Here the door moulding has been installed. |
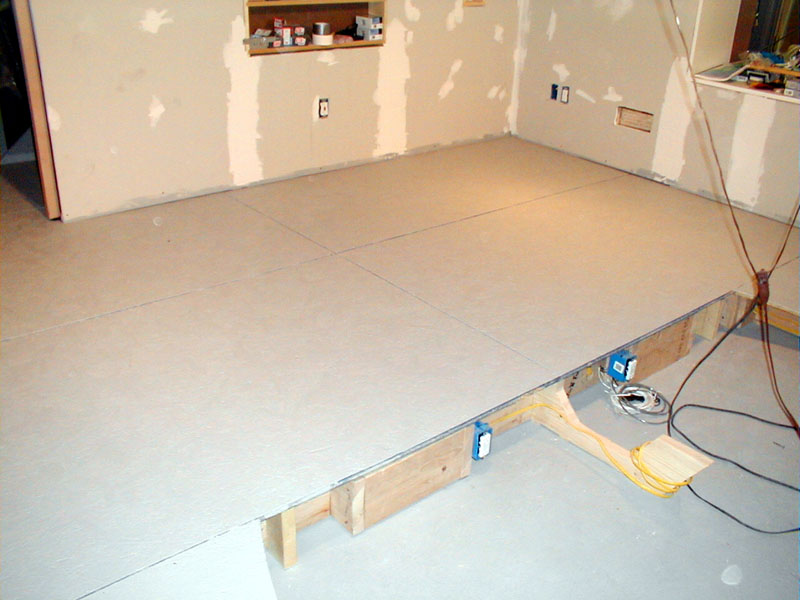
 | The rasied floor fo rthe second row seats is shown here. |
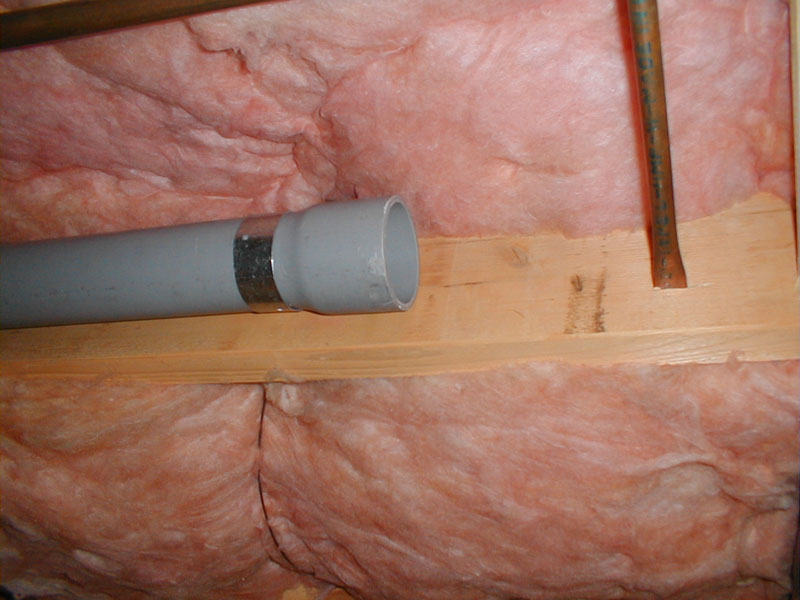
 | This tube serves as the conduit for the audio/video cables that will run to the projector. |
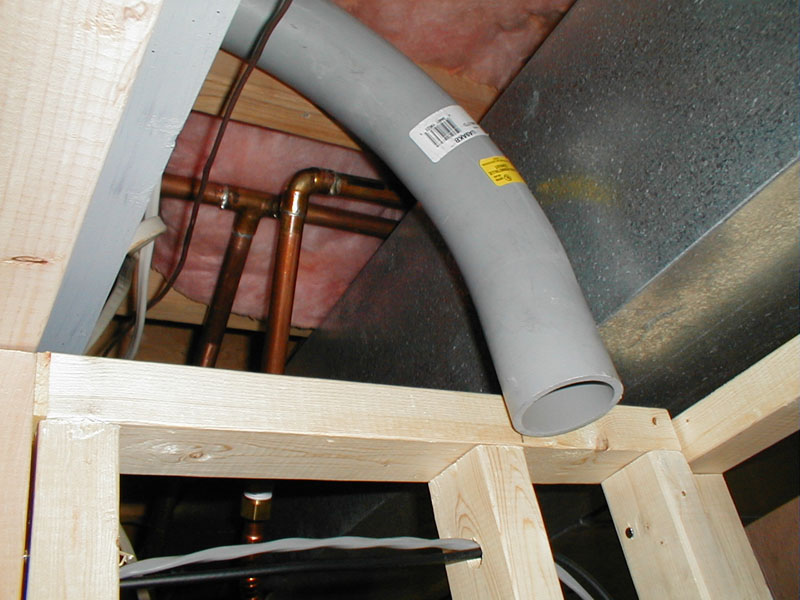
 | This shot shows where the tube ends at the top of the equipment closet. |
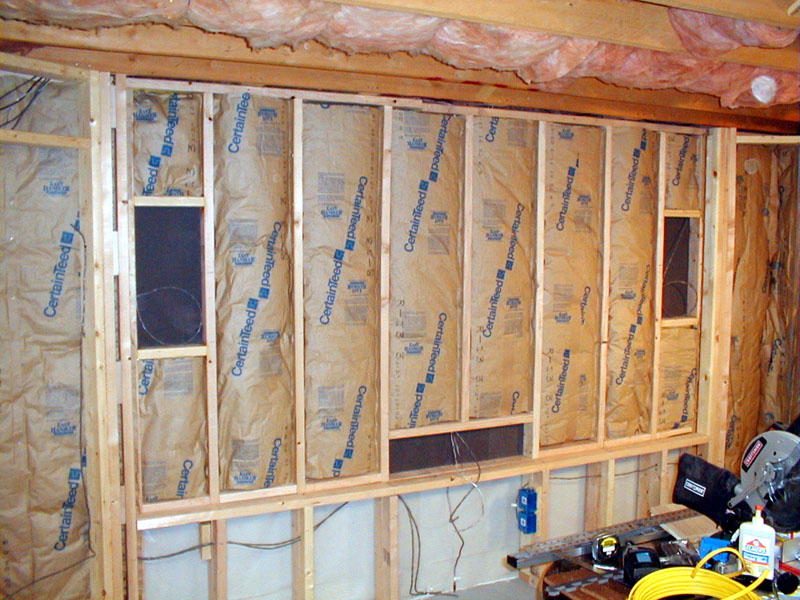
 | In this shot the screen wall has been insulated and is ready to be covered. The dark areas are for the three front speakers. |
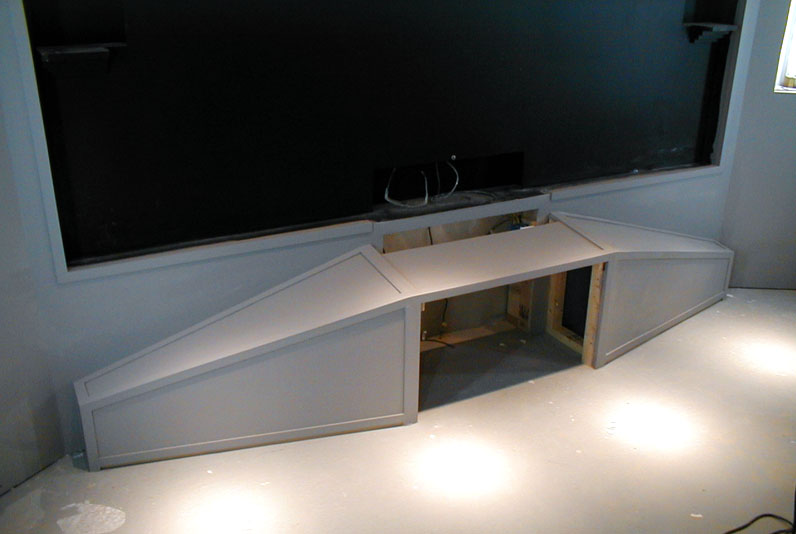
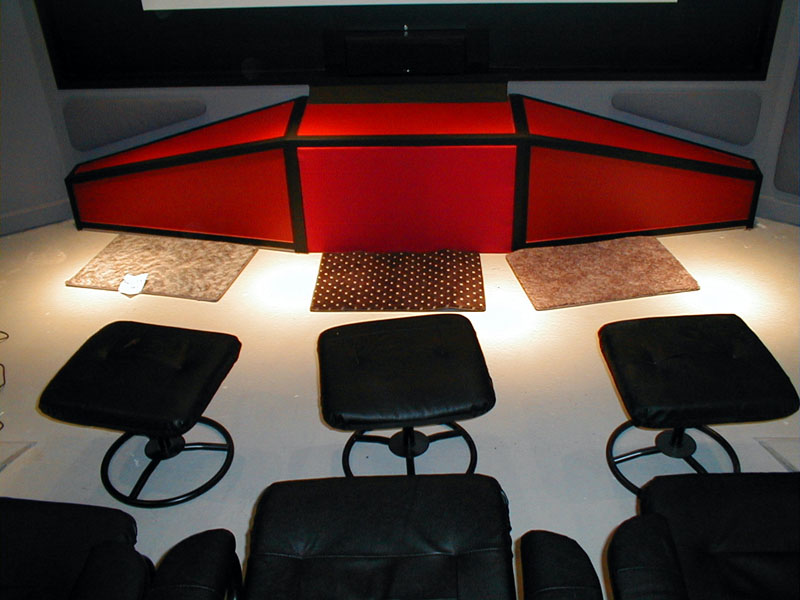
 | The proscenium which will house the front subwoofer has been built and is awaiting finish painting. |
 | The black on the ceiling has been completed. All ceiling lights have been installed. |
 | The framing for the computer displays is completed along with the addition of several of the sound absorbing panels. |
 | Another shot of the front wall. |
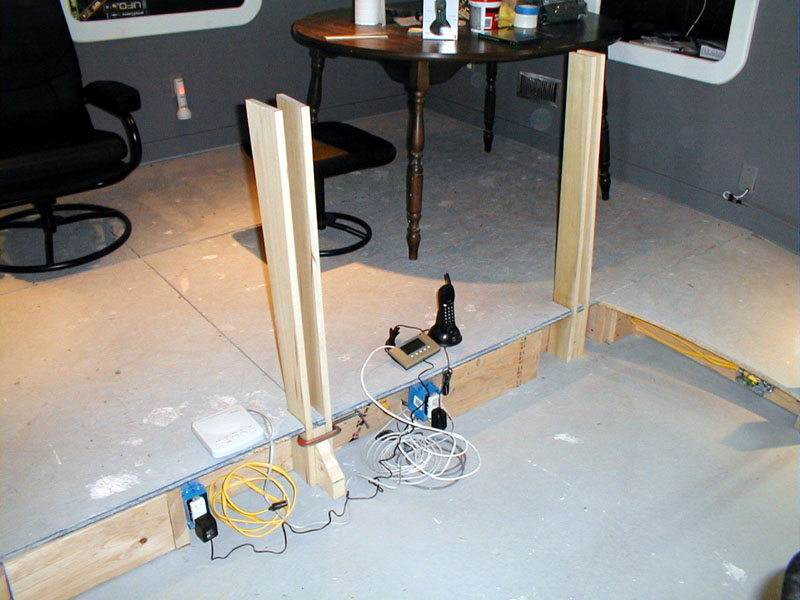
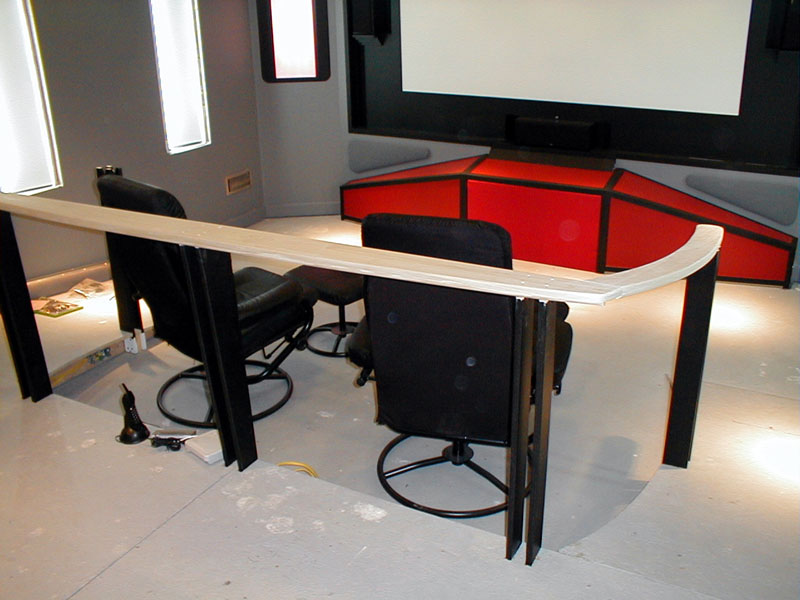
 | Construction of the Bridge railing has begun. The uprights have been cut and shaped but are not yet mounted. |
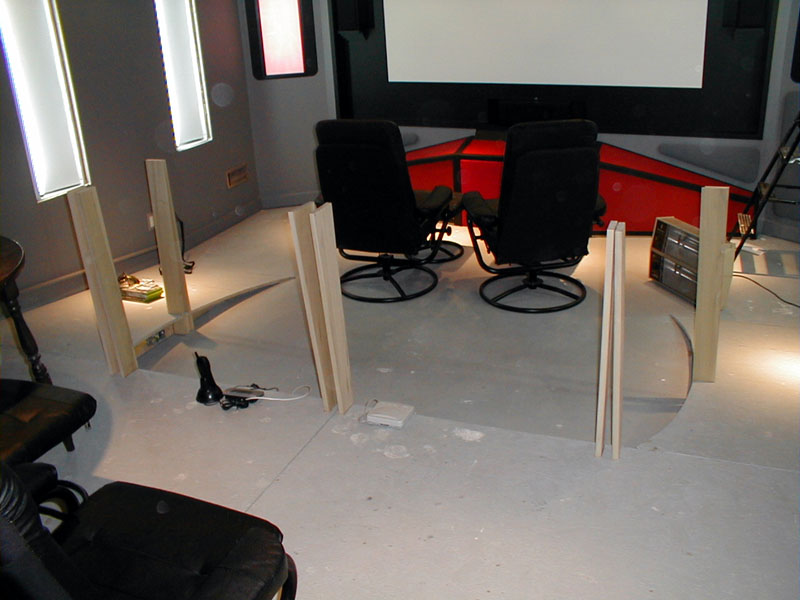
 | Another shot of the railing being built. |
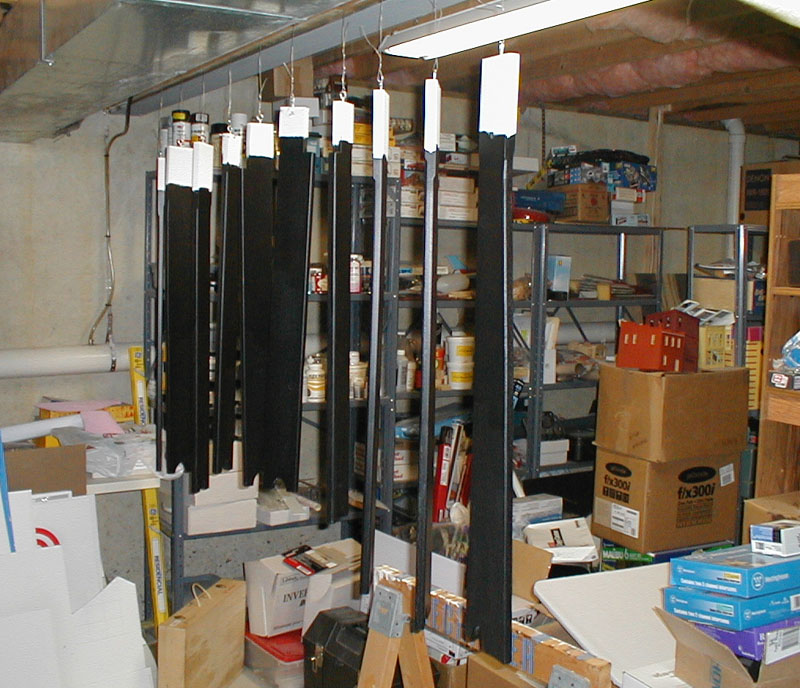
 | Painting the railing stanchions. |
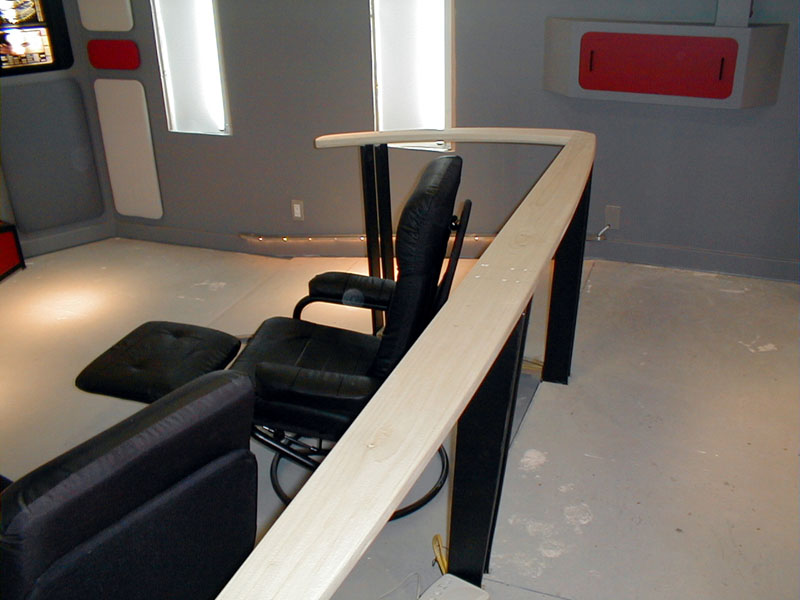
 | The railing has been attached to the stanchions. |
 | Another shot of the railing under assembly. |
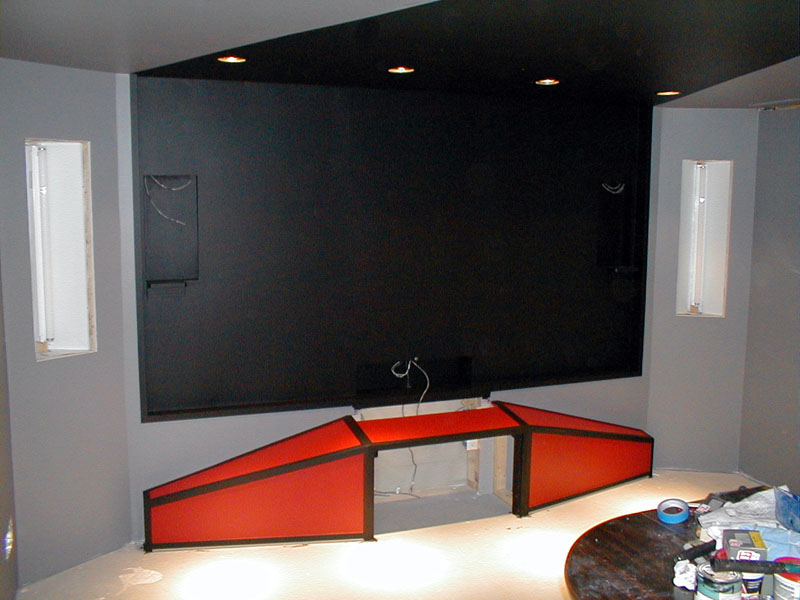
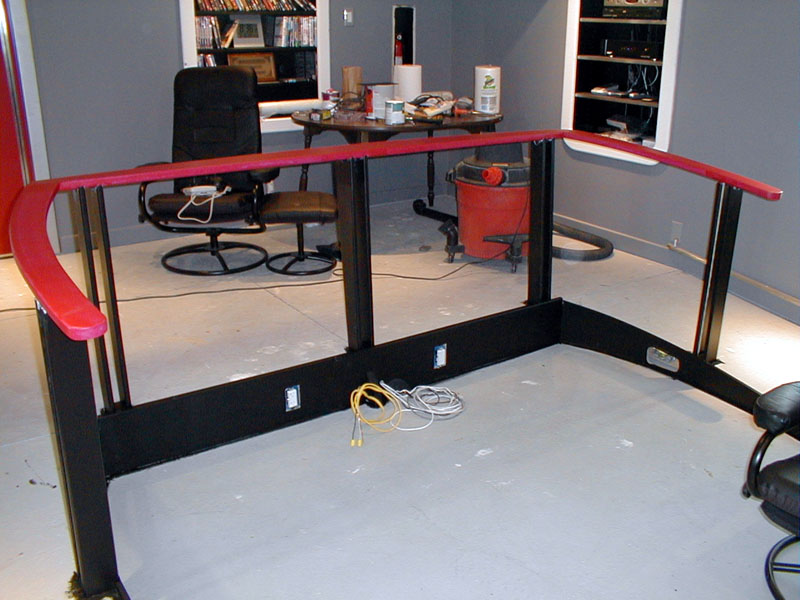
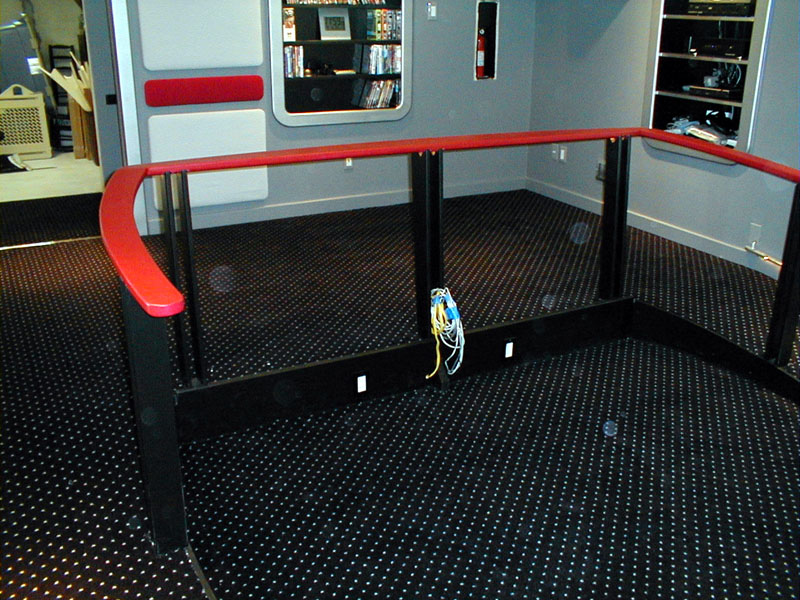
 | The railing has been painted red and the inside of the riser has been finished and painted black. |
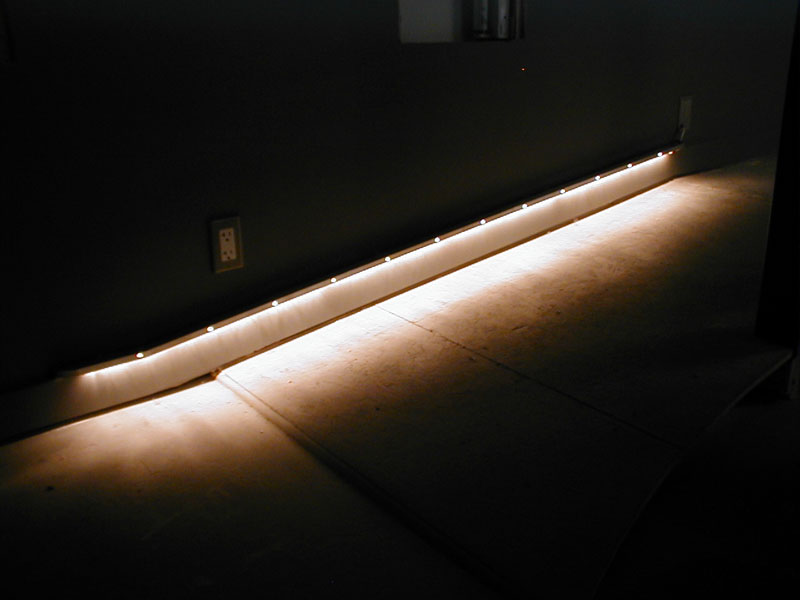
 | The rope lighting illuminating the ramp has been installed. |
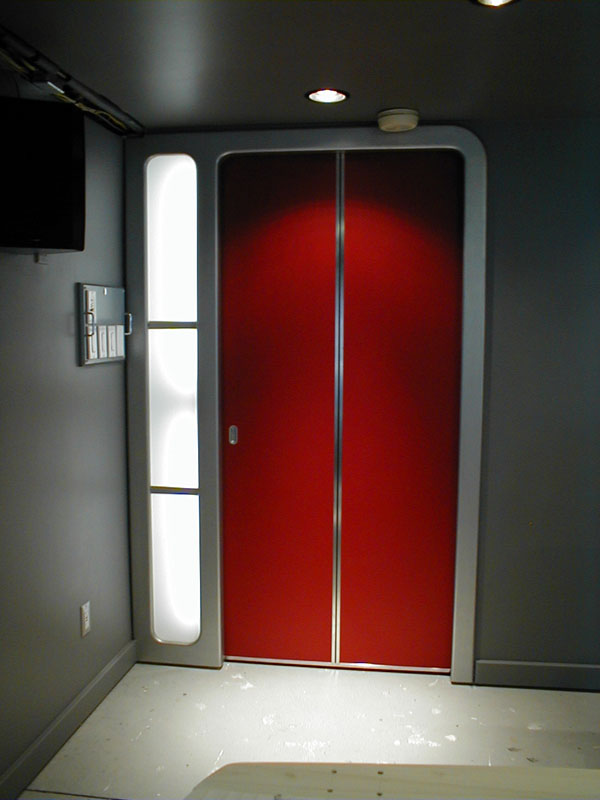
 | The door has been painted and mostly detailed. A few more trim pieces need to get put on. |
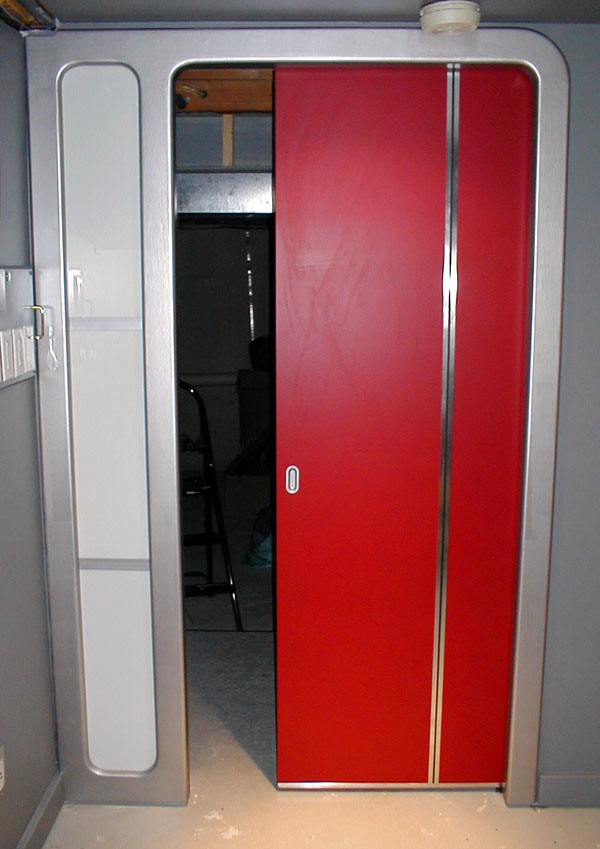
 | Another shot of the door partially open. |
 | The lighting to the side of the door has been installed. |
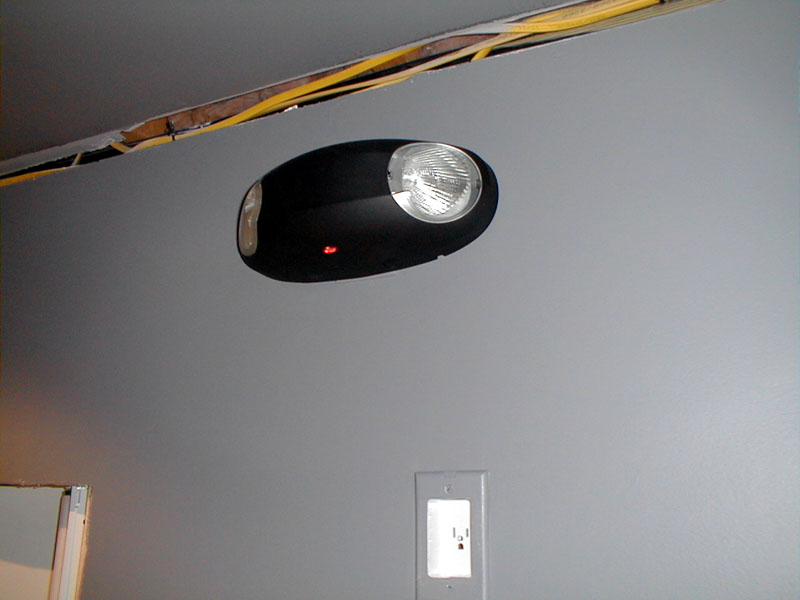
 | An emergency lighting system has been installed. |
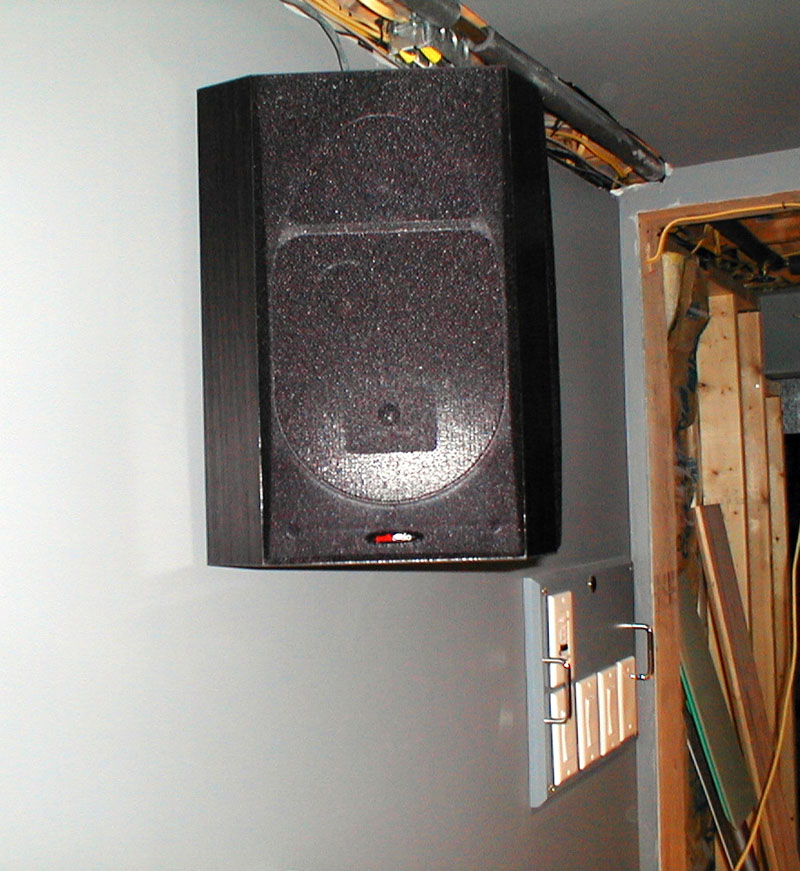
 | The rear surround speakers have been installed. |
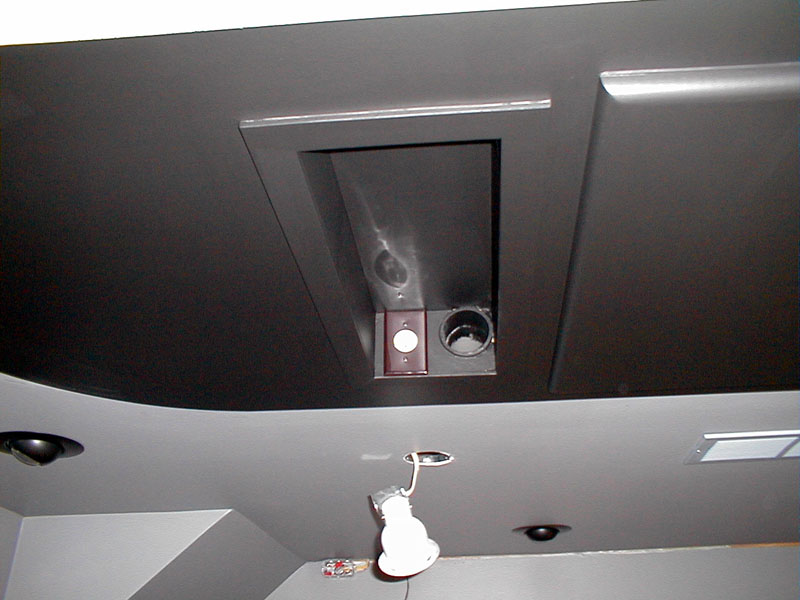
 | The projector mounting box with power outlet has been installed and painted black. |
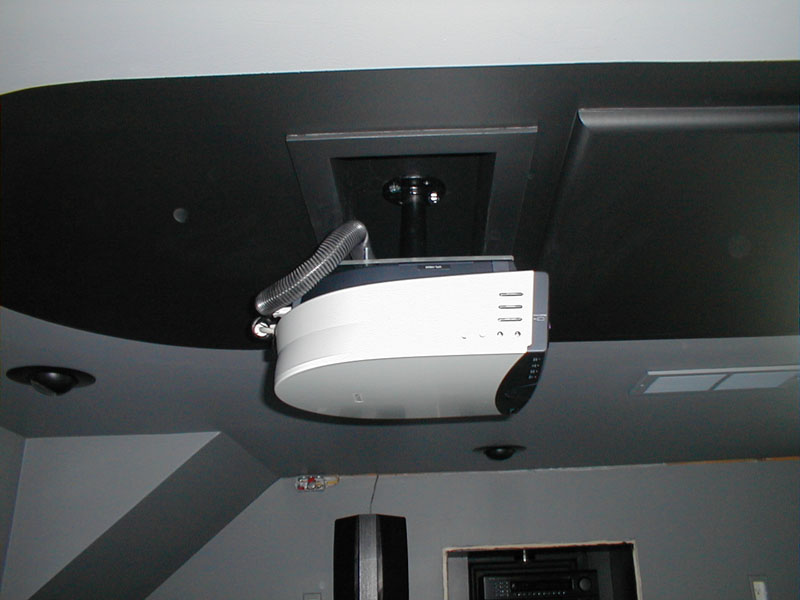
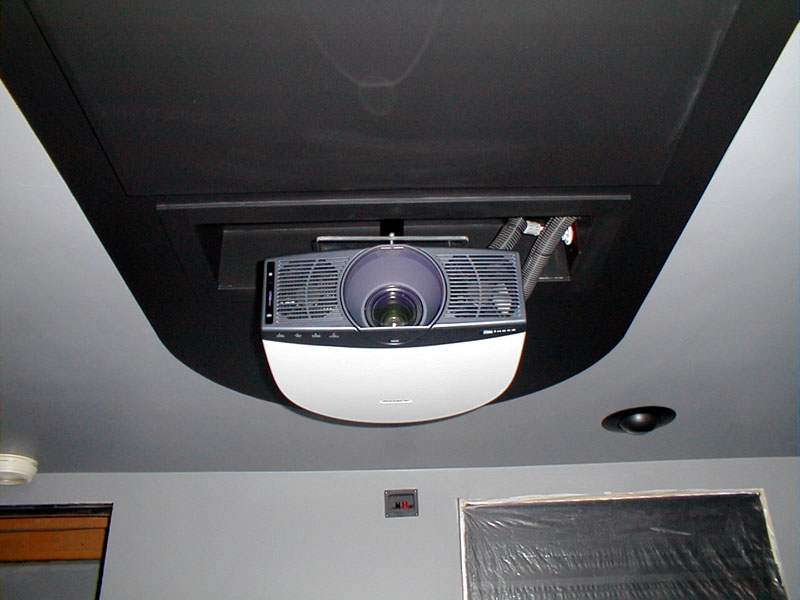
 | The first projector was installed on 11/27/2003. It was the Sony Cineza VPL-HS20 LCD projector. The projector has since been updated twice. |
 | Another shot of the original projector and DIY mount. |
 | Carpet samples under consideration. We have decided to go with the middle sample which is black with white spots. Curiously enough, the carpet pattern is called Stargate! |
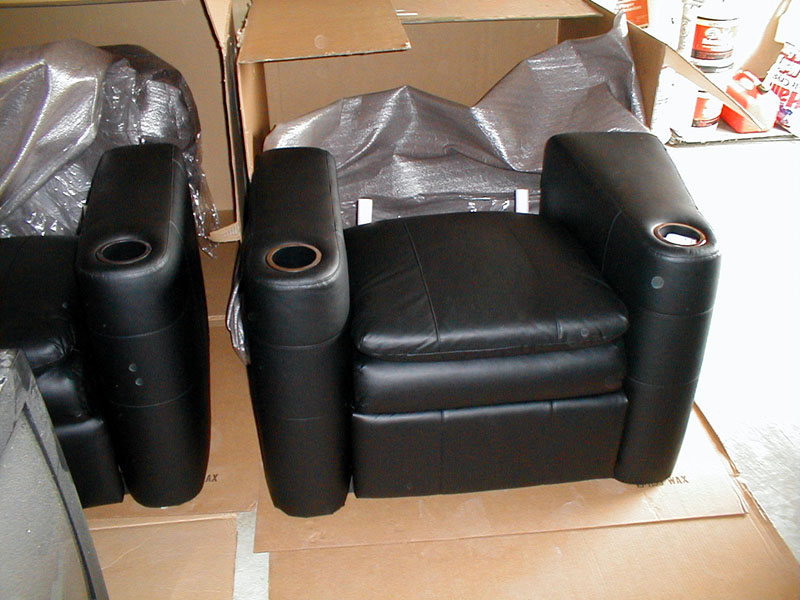
 | My pair of Berklines 099's arrived for the front row, shown here in the garage without the backs in place. |
 | The back wall is nearly finished. Only the addition of a couple more fabric panels to go. |
 | Another view of the back wall from the opposite angle. |
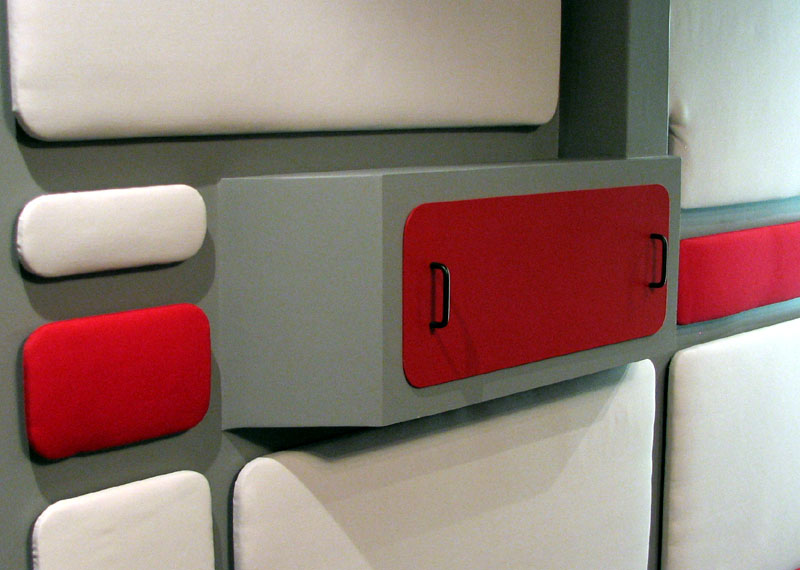
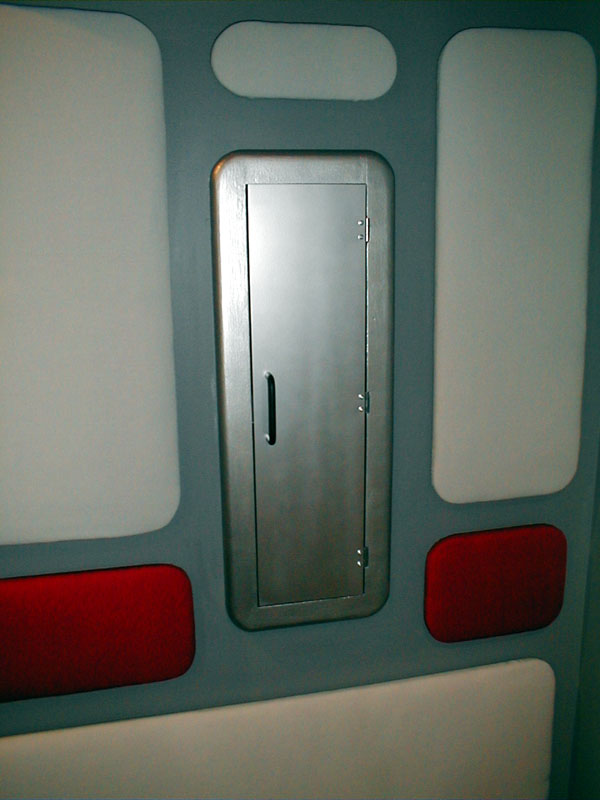
 | The fire extinguisher cabinet on the rear wall has been completed. |
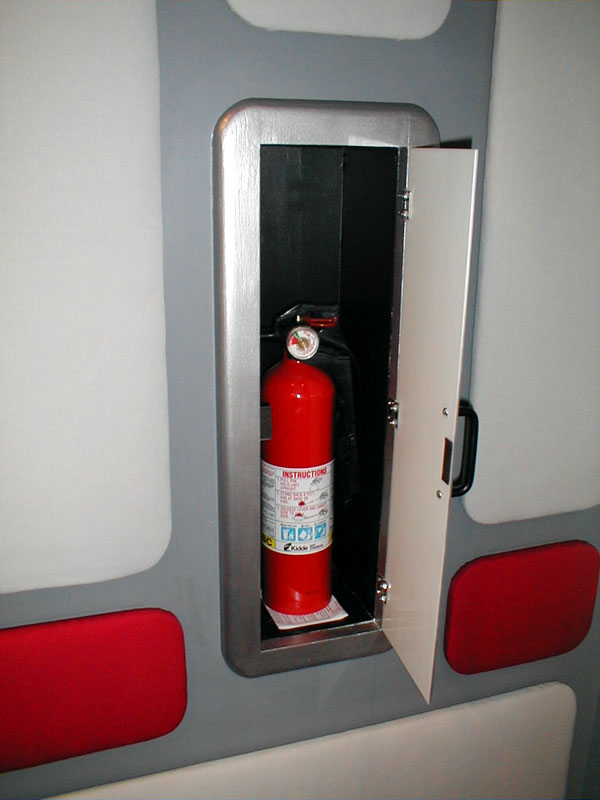
 | Here the door is open. |
 | The carpeting has arrived! |
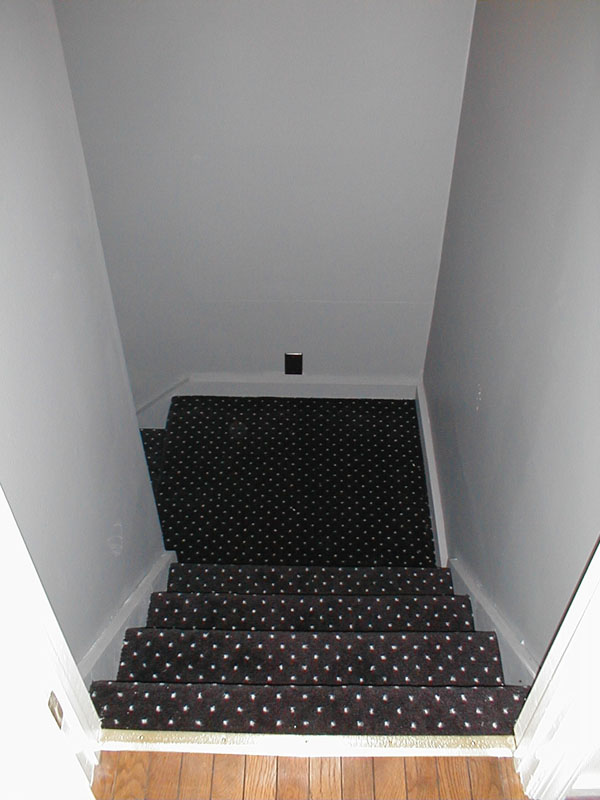
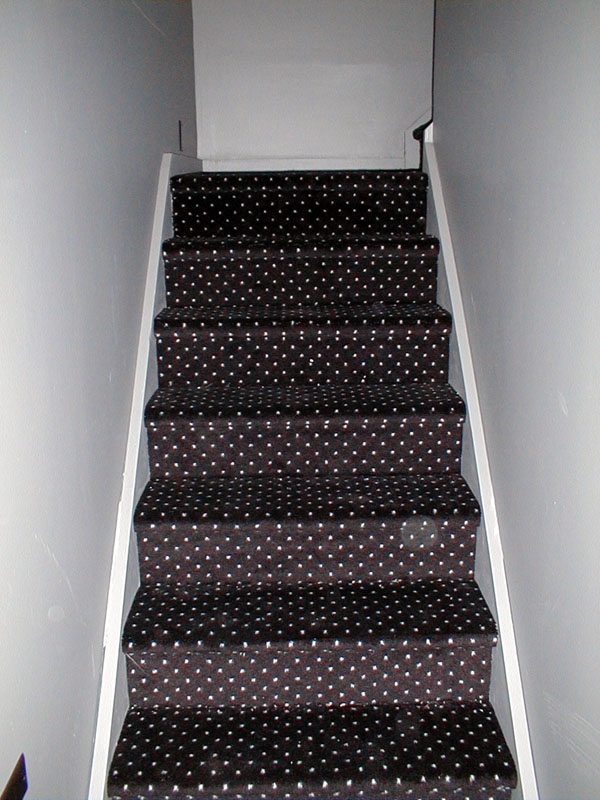
 | The lower part of the stairs leading to the theater. |
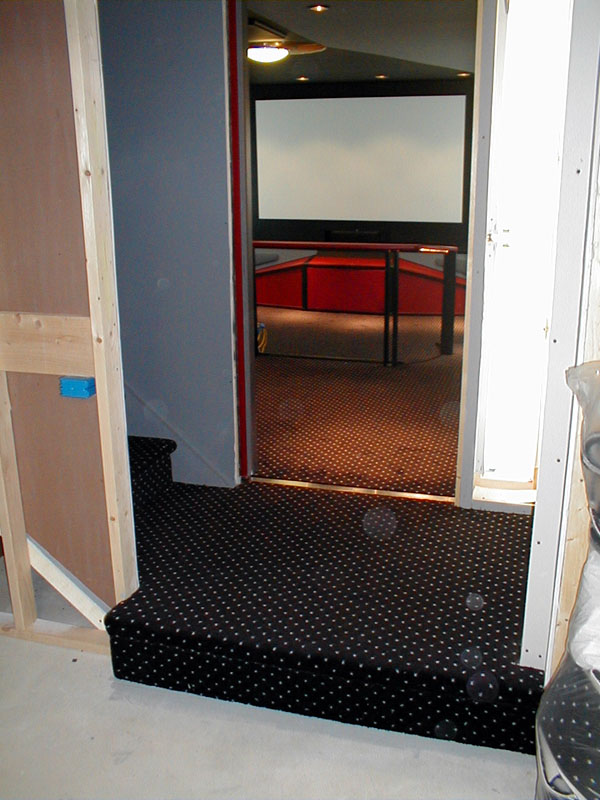
 | The landing at the bottom of the stairs. The moulding around the door and light have yet to be installed. |
 | Looking into the theater from the doorway. |
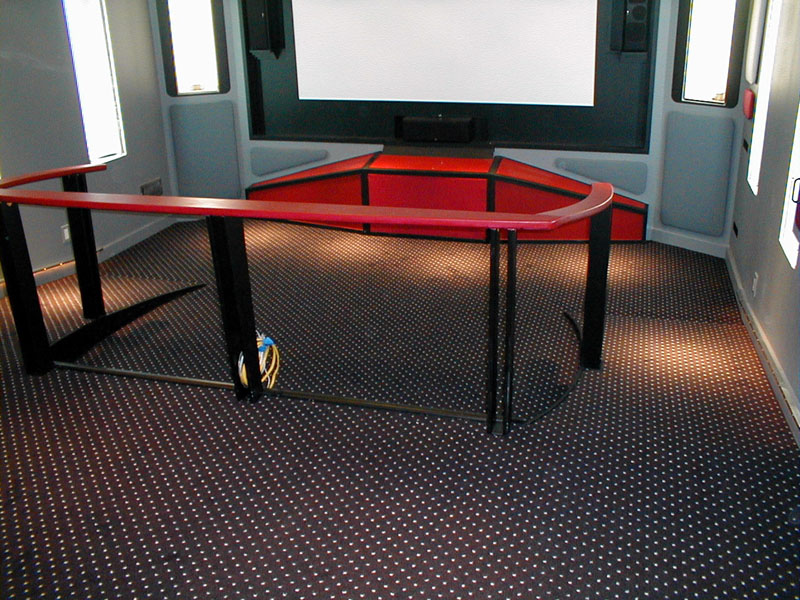
 | This shot is from the front of the theater. |
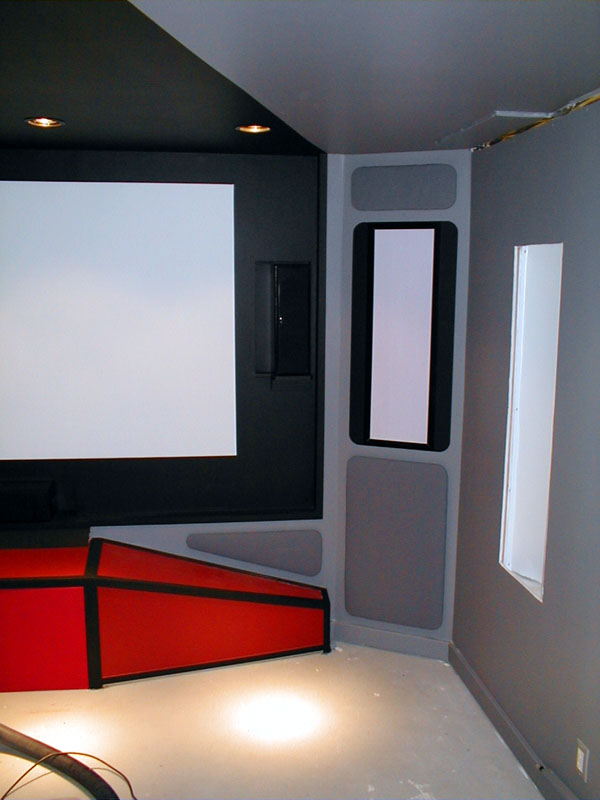
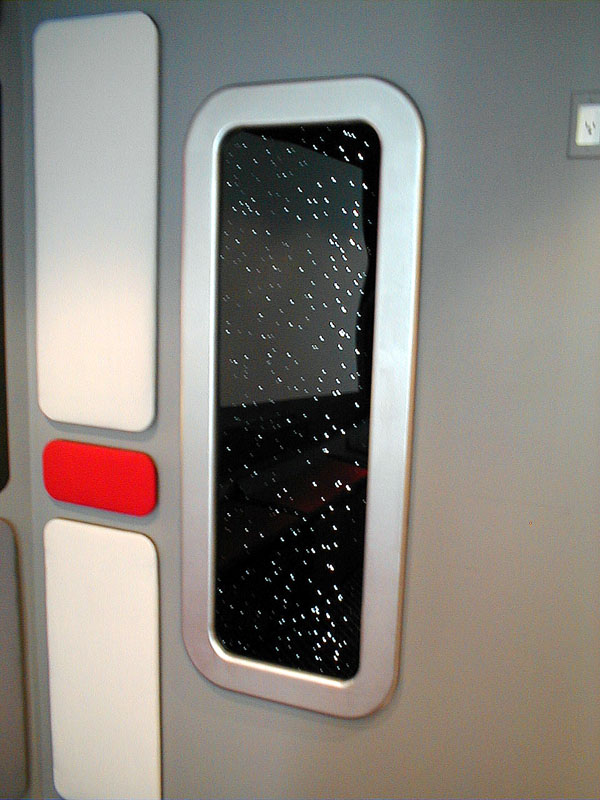
 | This is a test install of the first "viewport" window. The streaking effect of the stars is caused by camera movement. |
 | The original lighting control system installed was an X10-based system from Smarthome.com. Here, four of the X10 dimmers, switches and control units have been installed. This has since been upgraded to an Insteon based system. |
 | The last of the 56 acoustic wall panels is put in place Jan 23, 2005. The panels are covered in a fire rated Dazian PD cloth. |